This week I will show you how I did an Easy Deconstructed Chair Tutorial-Hallstrom Home. So if you’ve read in my recent blogs Fifi O’Neill came to my home to do a photo shoot, which you can read about all the fun here. But I had this old, moldy chair and it needed to be recovered. Why did I decide to recover it two days before the shoot?!
Be sure to sign up for my email to get new recipes, crafts and home ideas in your inbox!

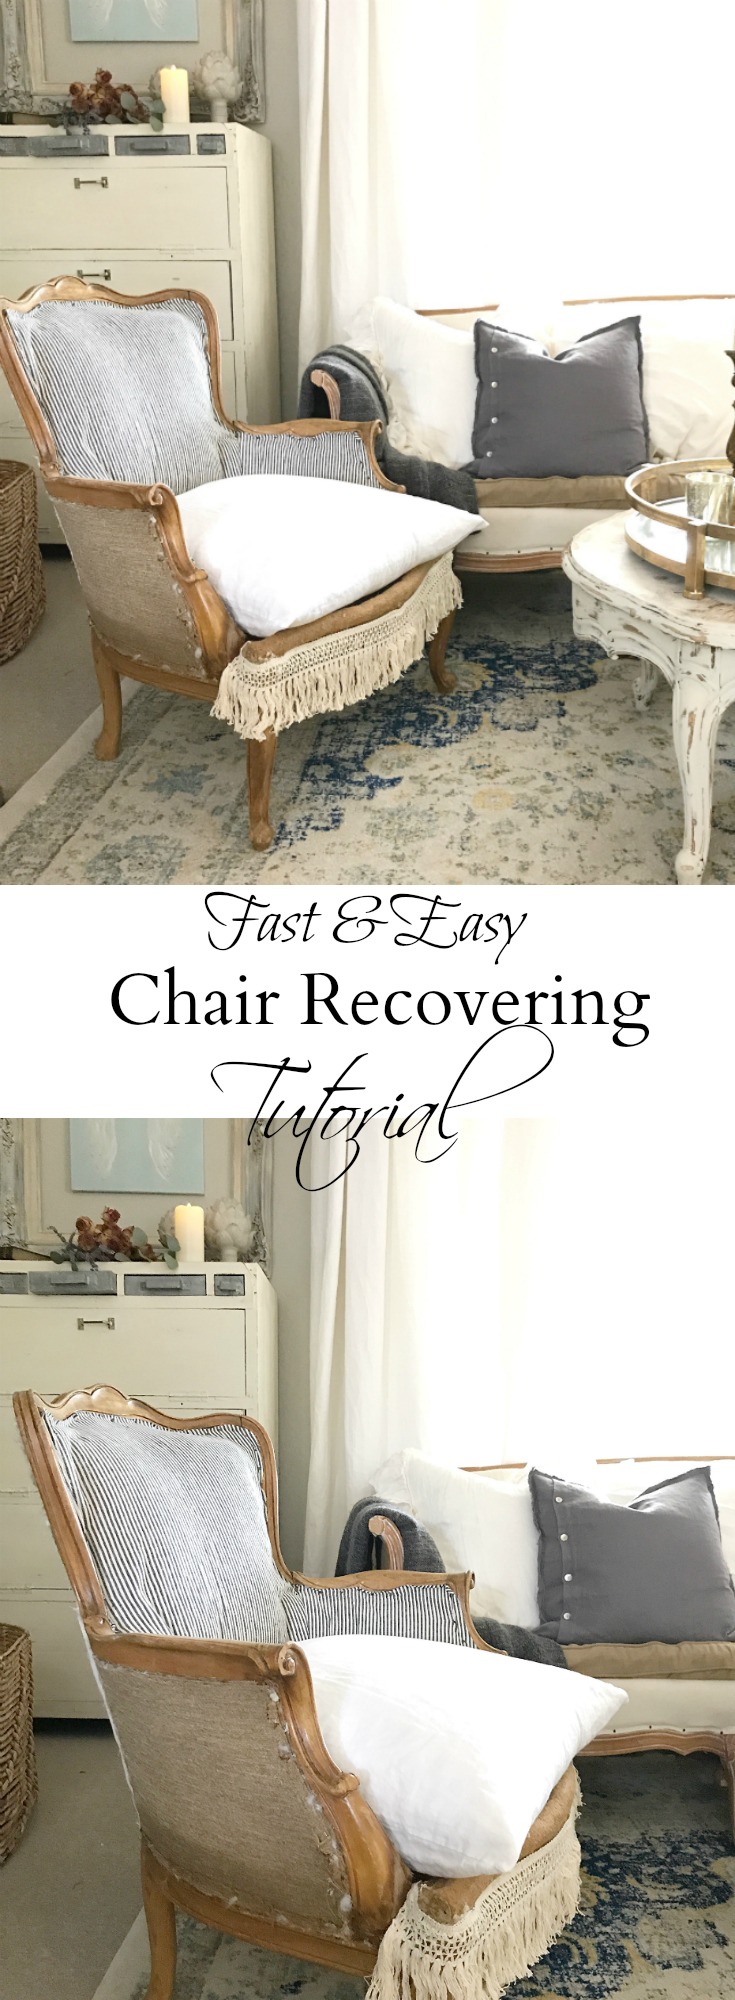
Easy Deconstructed Chair Tutorial-Hallstrom Home
If you have an old chair or one where you just want to have a new look, this will be a perfect tutorial. I started by tearing off the old fabric and the poly filling. You might want some needle nose pliers to get the poly filling off the nails. I kept the very back fabric of my chair on and the side burlap.

After removing all the old stuff, I started adding poly filling to the back of the chair. I did a couple layers then nailed my cotton batting in a couple spots to test how the back feels. I still felt some of the wood backing, so I added another layer. It was hard enough, but not too soft to where I felt the wood. This is when you want your nail gun, mine was in the shop, so I used our hand held staple gun. I then cut down the cotton batting around the edge. *Affiliate links used

Easy Deconstructed Chair Tutorial-Hallstrom Home
Then I did those same steps the the arms of the chair. I went with blue ticking stripe fabric, it gives the chair that farmhouse look. I bought a yard but I ended up only using a half yard. Lay out your fabric over the chair and start nailing it down along the edge. But you’ll want to step back and make sure your fabric still lines up. I used carpet nails because that’s what I had on hand.

This project will only take about 2 hours but for me it was 3, I ran out of nails so hubby had to go pick up some more. I didn’t tuck my fabric under, I left a raw edge. So I cut all the way around the edge going along the details of the chair.

I did not re-do the seat of the chair. I decided to just go with a euro size pillow, and during the different seasons I can change out the sham and go for a different look. Frayed, ruffle, rolled edge linen shams all look great! In my shop I have many different styles of shams. So I kept the back the same, when I first put this on I used a stencil to give it a french look.

To finish off my new refurbished chair, I added some fringe. I love adding something unique to my products to make it something special. It gives the chair a bohemian farmhouse look.

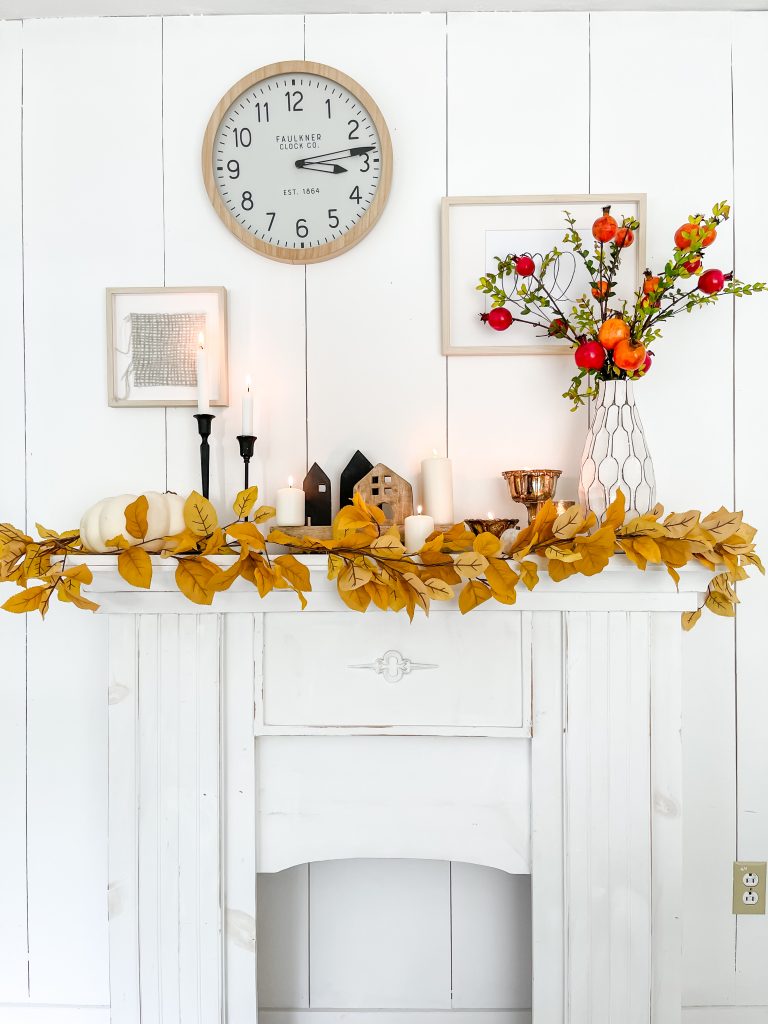
If you want to see another beautiful diy deconstructed chair, check out Liz Marie’s chair here. Soon on the blog, we will have a Fall home tour. So stay tuned on Instagram here or with our emails. You see those cute grey pumpkins? I created them with chalk paint and you can view that post here.


I finally finished up the 16.00 chair I bought! I love it!!
Not sure how to send the picture to you! 🤣🤣
Yes!! That is so much fun I’m glad you finished and love the end result!
Picking up a chair for 16.00 tomorrow to give this a try! This is so pretty!!
Oh that sounds so awesome! I would love to see how yours turns out. Tag me on Instagram at Hallstrom Home!
Sent you a picture on Instagram.
Yes I got it! What a great find and I look forward to seeing more of your photos!
Hi, I have a tiny old farmhouse in the Appalachian mountains. I have really liked these type of reconstructed chairs for a long time. Finally, after picking up a comfy vintage chair for 20.00 at a local thrift shop I have decided to start ripping and removing the fabric. I enjoyed reading your post and your chair looks amazing.
Tonita that sounds amazing! I hope it goes well, if you need any help I am here.
Rhonda
This chair is amazing! I love deconstructed chairs. I am just about to do this to some old dining chairs!
Thank you I was happy to learn it’s so quick and easy