Creating Tags Using Air Dry Clay is so easy and fun! One late night we decided to make some of these for the holidays. But the best part is they don’t have to be just for Christmas, you can make these for birthdays or simple place settings.
Be sure to sign up for my email to get new recipes, crafts and home ideas in your inbox, plus access to our free printable vault! *This post contains affiliate links*
DIY Clay Tags
Below we will have some of the most commonly asked questions about this clay diy. We used air dry clay, but really any kind will work for this. The possibilities for clay projects like this are endless. You can use these as gift tags, ornaments, key chains, name tags. See all those options?!
Supplies:


Clay Gift Tags
Step 1: Knead your Clay
When working with clay, it can be a bit hard right out of the container. So just knead for a couple minutes to warm it up and get it ready to mold. Watch and subscribe to our YouTube below to see how we did this fun project.
Step 2: Roll out the Clay
Once it’s warmed up it’s time to roll out the clay. We rolled out the clay on parchment paper to keep it from sticking. Sometimes the clay would stick to the rolling pin. But the trick for that is to use spray grease and spray it onto the rolling pin, that worked perfectly. The thickness we went with was around a 1/4″ thick, but of course it varied here and there
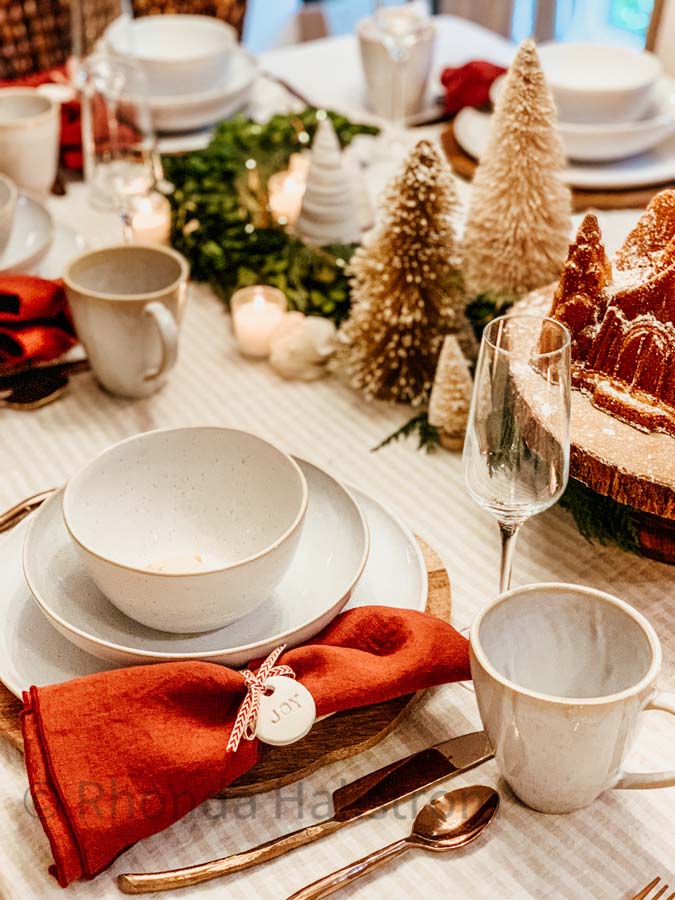
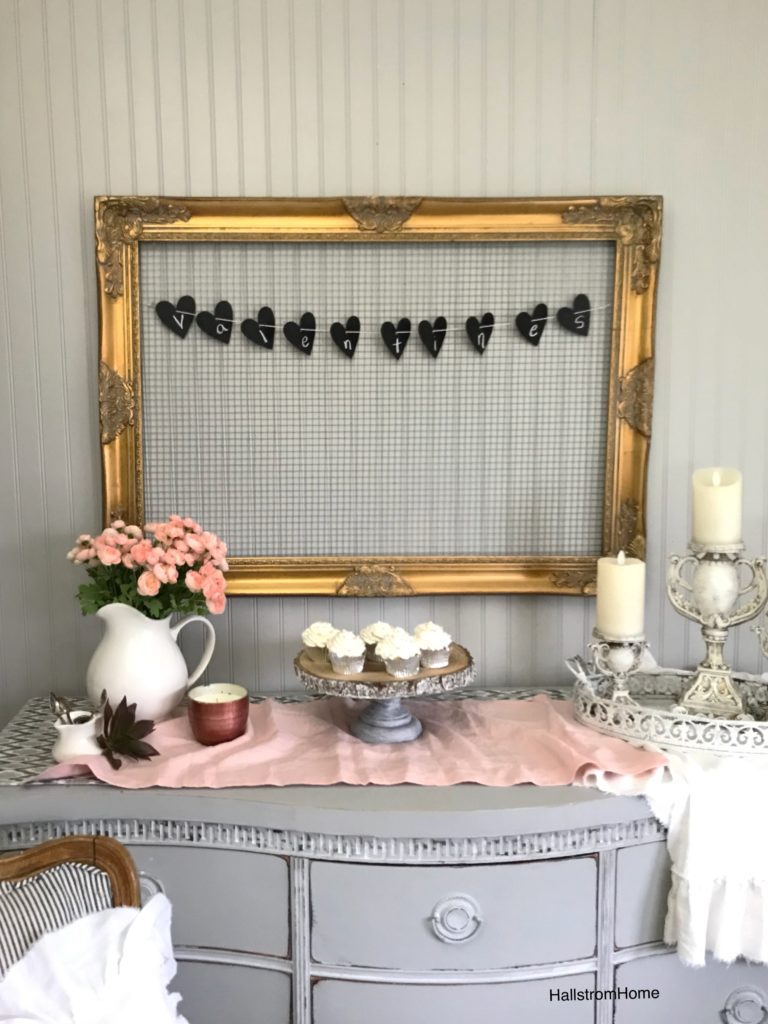
I have all the details on how we created this beautiful Christmas tablescape.
Tags Using Air Dry Clay
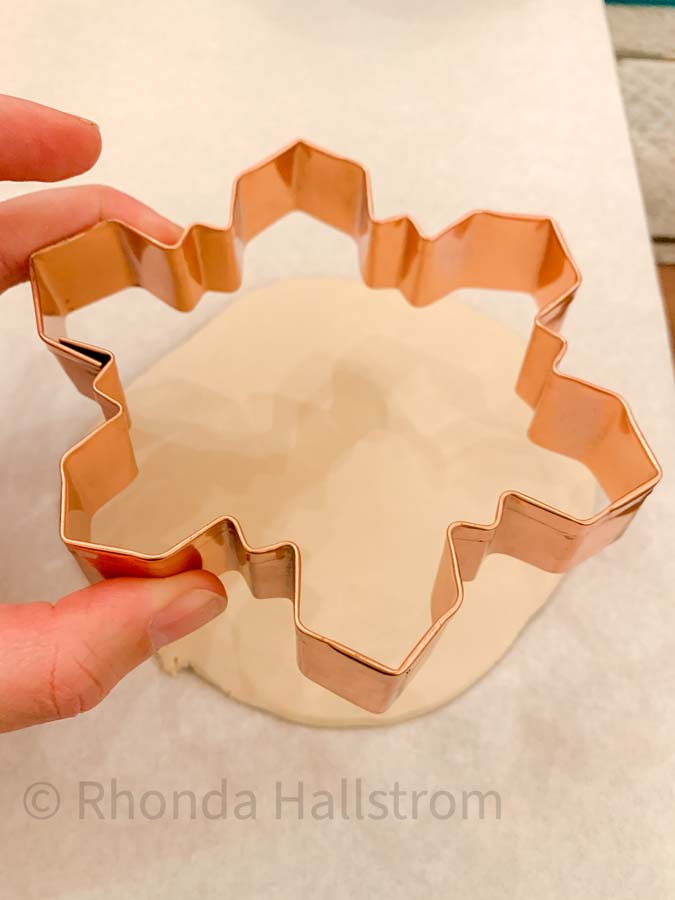
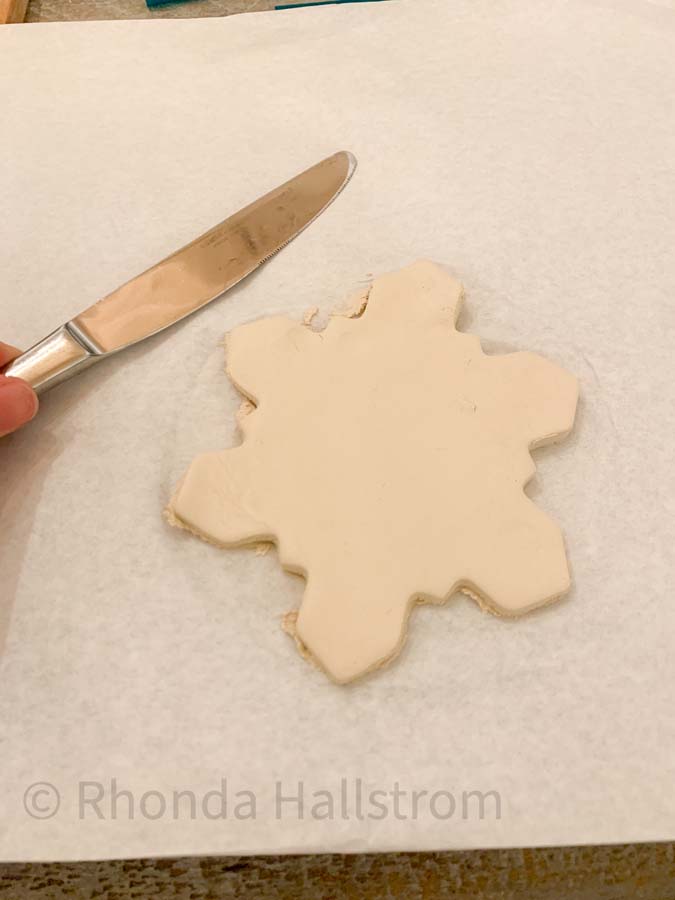
Step 3: Cut the Clay
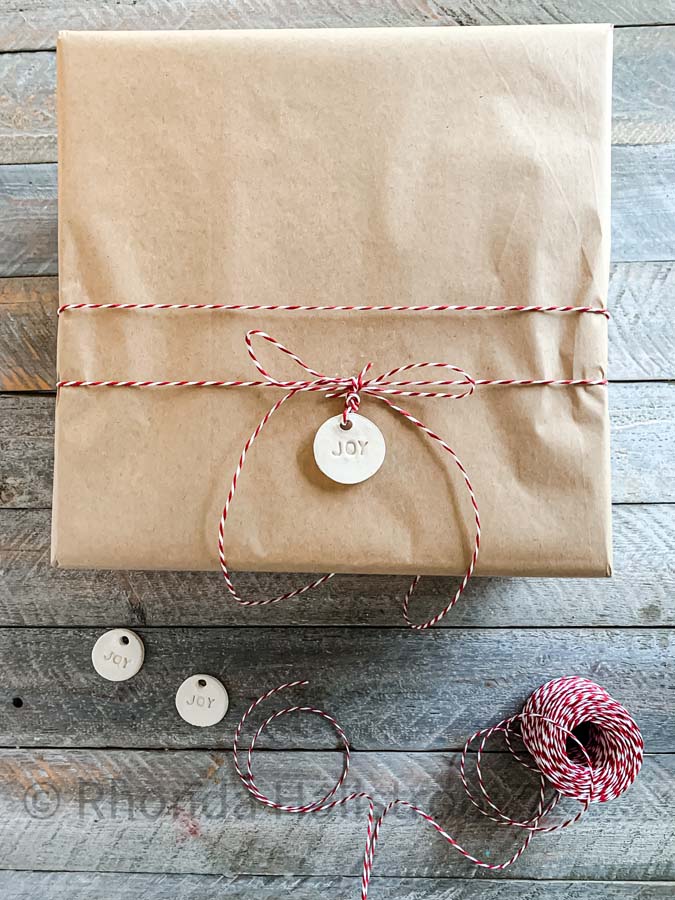
This is where the cookies cutters come in. In our stamping kit it came with little circles so that’s what we used for the most part. You can use any shape you want. Stars, hears, snowflakes, rectangles, or leaves. Whatever season or holiday it is, you can base it off of that as well. As for the gift tag hole we just used a straw to cut it out.

Gift wrapping is the most perfect way to personalize a gift. Here is a way we wrapped our gift naturally with elements in our garden.
Stamped Clay Tags
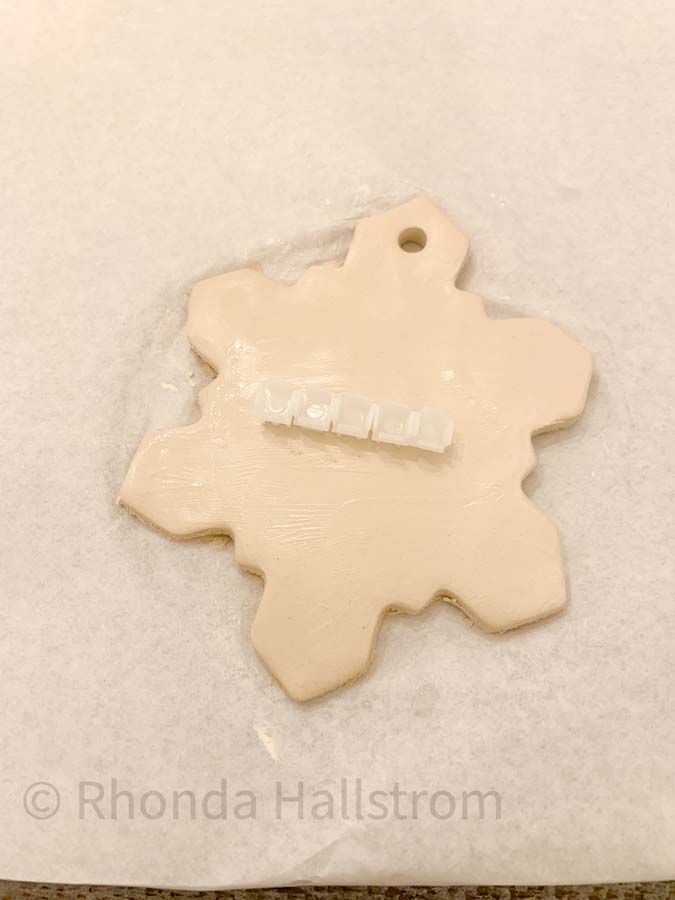
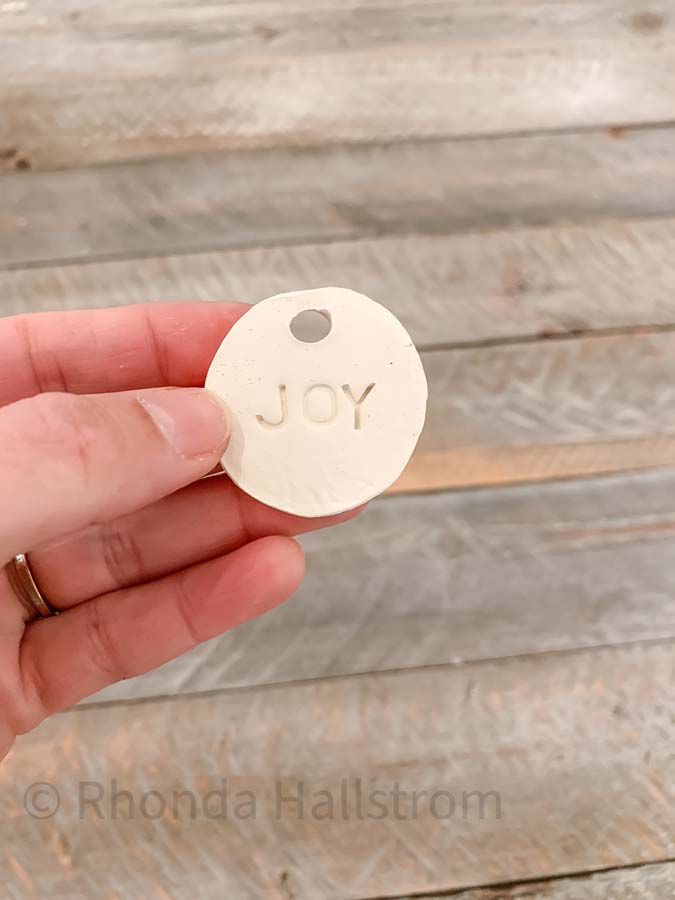
Step 4: Stamping the Clay
This is where it is fun to get creative. Using words, symbols or patterns makes these tags stand out. Since it is getting close to Christmas time, that is what we based our words off. Stamps names for place settings, gift tags, stockings. See how we added them to our boho stockings here. But you can stamp words like love, breathe, mr, or mrs. I left some blanks, so I could just use it in decor.
Step 5: Let the Clay Dry
With the size of our pieces it took about 36 hours for them to completely dry.

Now for some of the most commonly asked questions.
Can I only use air dry clay?
No, about any kind of clay will work for this project. Just follow the directions for drying it.
Can the clay tags be painted?
Yes I would recommend painting he air dry clay after it’s finished drying.
Is there a way to get a glossy finish?
I would use a gloss non yellowing polycyrlic spray.
Can chalkboard paint be used?
Yes, you can paint chalkboard paint to reuse these each year.


Excellent project while school is being held at home. We can work on motor skills and spelling while making the house cozy for the holidays!
That is so perfect Sarah!!
I love these so much Rhonda! Just finding more projects for my overloaded to do lists 😂
Thx Jennifer! I know such a long list!!